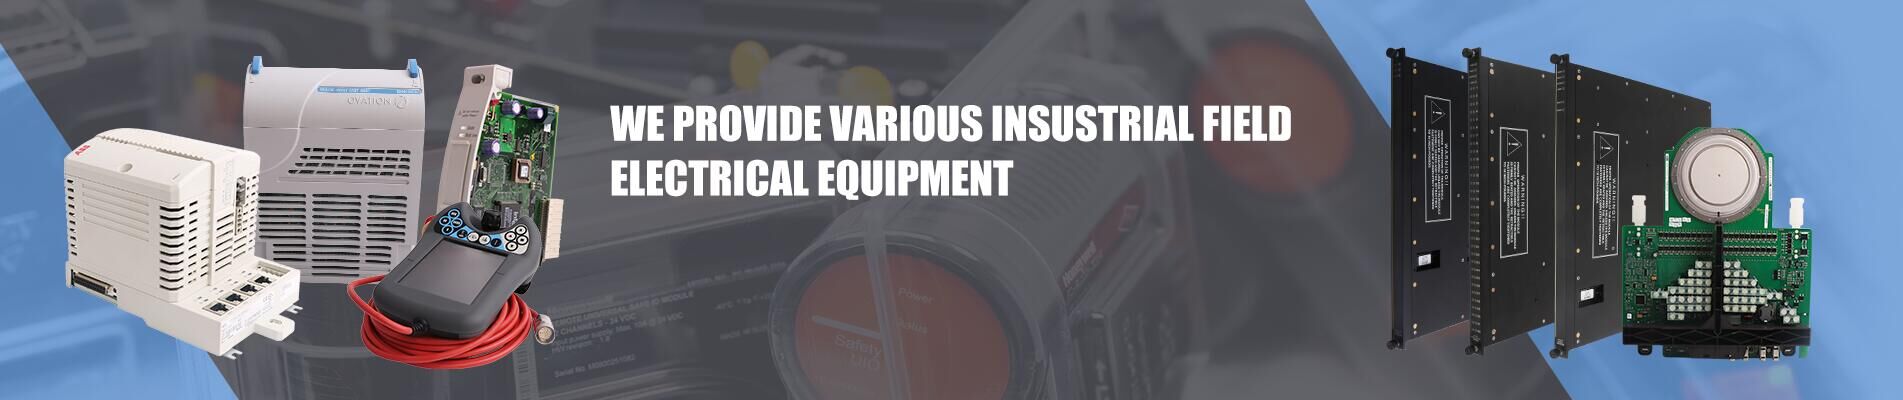
Before starting dust removal for the DCS (Distributed Control System), thorough preparation is key to ensuring efficient and safe operations. First, gather professional tools: an anti-static brush (recommended with soft nylon bristles to avoid scratching circuit boards), an adjustable-power vacuum cleaner (equipped with a 3-5mm diameter fine suction nozzle), anhydrous ethanol (purity ≥99.7%), anti-static cloths, and a temperature-humidity monitor. Second, establish a strict shutdown procedure: confirm the system switching plan with the central control room in advance, follow the principle of "switch redundant controllers before powering off," turn off the control cabinet power sequentially, disconnect external signals from terminal blocks, and lock power switches with warning labels. Pay special attention to recording the installation positions of each module—use both smartphone photography and hand-drawn schematics for backup to prevent misalignment during reassembly.
Adopt a "segmented dust removal" approach: disconnect wires at both ends of the terminal block (mark cable numbers), use a low-power vacuum to clean dust from wiring holes, and brush terminal surfaces with a fine copper brush to remove oxides. For screw-type terminals, re-tighten them with a torque screwdriver to the specified torque (usually 0.8-1.2N·m) to prevent increased contact resistance and signal anomalies.
Separate the internal and external work areas of the control cabinet with plastic curtains to prevent secondary dust diffusion. Clean the vacuum filter regularly (every 15 minutes is recommended) to maintain suction efficiency and avoid dust accumulation.
Use a dust particle counter to measure cleanliness inside the cabinet (≤10,000 particles/m³ for ≥0.5μm particles). Record temperature (20±5℃) and humidity (45%±10%) to ensure optimal operating conditions.
For critical DCS systems in high-dust environments, consider adding automatic purge devices with timed and dust-concentration control. Opt for circuit boards with dust-resistant coatings and fully sealed fans to enhance hardware-level dust resistance.


Email us
Reply within one working day
Visit us
32D Guomao Building, No.388, Hubin South Road, Siming District
Please read on, stay posted, subscribe, and we welcome you to tell us what you think.
Disclaimer : Featuredplc sells new and surplus products and develops channels for purchasing such products. This website has not been approved or recognized by any of the listed manufacturers or trademarks. Featuredplc is not an authorized distributor, dealer, or representative of the products displayed on this website. All product names, trademarks, brands, and logos used on this website are the property of their respective owners. The description, explanation, or sale of products with these names, trademarks, brands, and logos is for identification purposes only and is not intended to indicate any association with or authorization from any rights holder.
Copyright @2024 SalesPlc Limited. Sitemap
/ Blog
/ XML
/ Terms And Conditions
/ Privacy Policy
 Network Supported


About Us
Featuredplc has a team of experienced professionals working closely with overseas suppliers to provide our customers with a wide selection of products to meet their needs about delivery, price and brands . Featuredplc advantage lies not only in our ability to provide products, but also in our ability to establish close links with direct users, system integrators and provide professional spare parts solutions to enhance customers' competitiveness in their own markets. Integrated procurement, online component solutions at any time, 24/7 and 365 days a year to place orders. To meet the specific needs of many manufacturing customers, we have deployed a range of supplies,With our multi-channel distribution network and strong warehouse support, we are able to optimize the supply chain and provide competitive prices. 20 years ago, we set sail with a dream,20 years later, we are shouldering more hopes and expectations. Thanks to every friend who supports us, it is your trust that keeps us moving forward. Looking back, we are grateful; looking forward to the future, we are full of confidence! Celebrate the 20th anniversary together and welcome a more brilliant tomorrow! We will continue to provide the best service and quality assurance to our customers all over the world in the coming days, welcome to inquire for the latest discount offer! Our warehouse is capable of holding up to 60,000 pallet spare parts as a regional hub, enabling us to store a wide range of products. This improves efficiency by providing our customers in the global region with faster delivery times and lower prices. Sustainable Partnership Featuredplc is committed to building sustainable partnerships with customers and suppliers. It's a win-win-win situation. Sustainability also means responding to trends, evolution and innovation. This flexibility is also a guarantee of the future.We always focus on top brand products, top industrial partners innovation and industrial automation in the delivery of new components. Our sales office ensures that your to inquiries about spare parts are responsive. We actively participate in the customer's search for spare parts solutions or provide customized delivery advice. The customer's spare parts demand or delivery time question is always important to us. + Availability, + Responsiveness: Your satisfaction is our top priority! Featuredplc spare parts supply chain ensures your optimization of the delivery cycle of industrial parts.
Where to Find Us
 32D Guomao Building, No.388, Hubin South Road, Siming District
 +86 15359408275
 sales5@mooreplc.com
Follow Us